Showing posts with label Iamroses. Show all posts

Sunday, October 30, 2011

Boo-hoo-licios Blog Hop

Welcome to the Boo-Hoo-Licious Halloween Blog Hop hosted by Liz (Beauty Decade)!  I'm so glad you could join us!


There are some amazing ladies on this hop so please make sure you visit all the stops. You won't want to miss a thing. If you are coming from Teresa at Scrappin T's Place, you are right on track. If you just came across my blog and would like to hop along, please start over with Liz at Decade Of Scrap as she is our spooktacular hostess.

So here is my Boo-hoo-licios project!!!
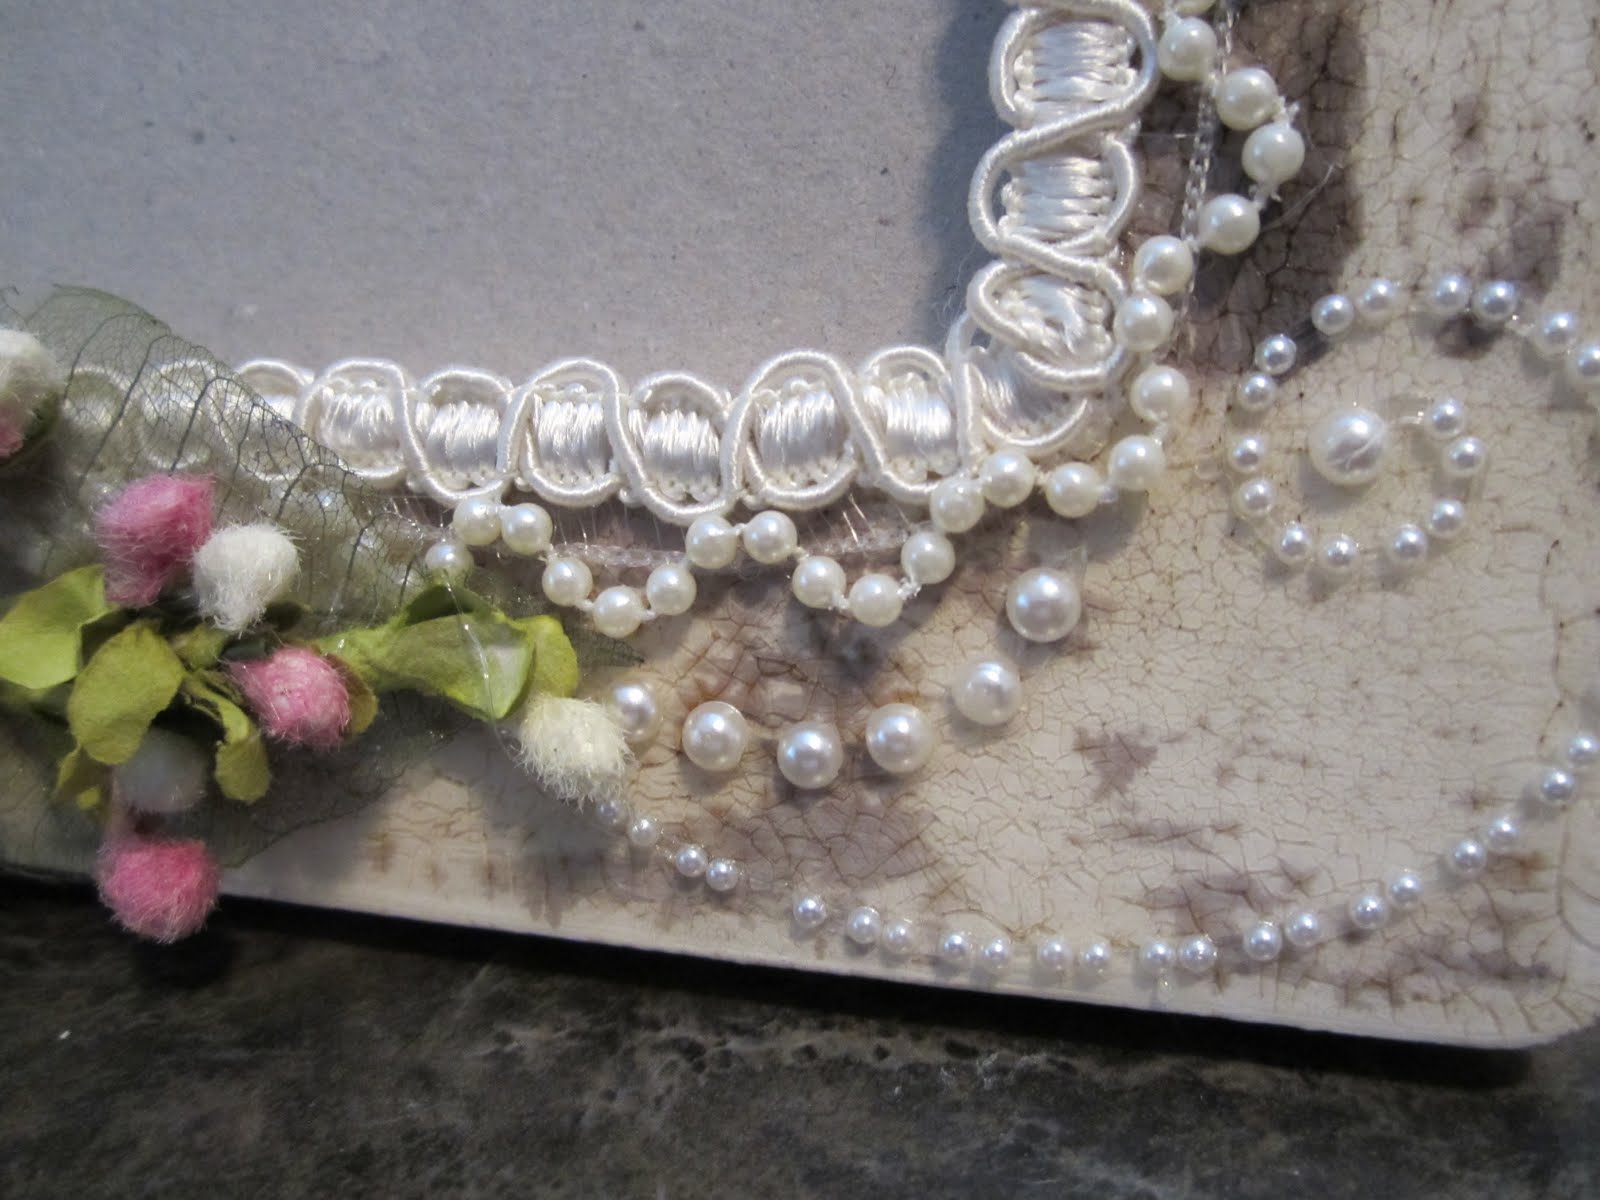
Here are some pics of my card...

I created this card using all my halloween scraps from this years halloween projects. I started with black cardstock and layered different papers from last year's Ravenhead Manor paper collection by Recollections. I used some recollections pearls and iamroses rose buds. I finished the card off with some black satin ruffle trim that will be coming to my shop MB's Treasurista next month, so look out for that.


Wait i'm not done yet, I do have some blog candy...
One lucky winner will receive a $15 gift card to my shop MB's Treasurista and some surprise goodies including iamroses, tim holtz, prima, and much more. To win, simply leave a comment on this post and a way for me to reach you. Make sure you are a follower on my blog! Extra entries if you head on over and "like" MB's Treasurista's Facebook Page!!! Make sure you click "Like Page". Also extra entries if you sign up to my site "Creating the Crafty Life". Please make sure to let me know in the comment if you liked MB's Treasurista FB page and if you joined Creating the Crafty Life. I will use Random.org and announce the winner on Tuesday, November 1st

I'm going to keep this short and sweet so I can get you on your hopping way! Next up is the uber talented Deb! I'm certain she will blow you away with some fantastic eye candy! So hurry up and click on over....


Here is the lineup in case you get lost:


Thank you so much for hopping by and a huge thank you to Liz at Decade Of Scrap for allowing me to be a hop stop.

*****HAPPY HALLOWEEN*****
♥Misty♥

"Happy Birthday" Card


Please check out my video for all the details!!!
You can find all the acrylic leaves and flowers at my shop MB's Treasurista!


Thanks for dropping by to check out my project!
Have a wonderful crafty day!
♥Misty♥

"BOO" Banner

Hey everyone!!! I have a halloween banner to share with you today. I made this for my partner Cindy for the "Halloween Banner Swap" over at Creating the Crafty Life!!! I painted chipboard with black acrylic paint and covered it with various paper collections. I used K&Co diecuts for the October 31st and the bat.  For the "B" i used a random chipboard letter i had and crackled it with tim holtz black soot crackle paint. I layered it on top of a rosette flower and then on top of a spellbinder's diecut that i also embossed with a tim holtz embossing folder. I finished it off with another k&co diecut. I did the same to the "O" except i used a spider diecut! For the last panel i used Prima and iamsoses flowers along with more diecuts. I also edged each panel with pom pom trim on the top and bottom.


Please stop by and check out Creating the Crafty Life for more swaps and the most friendly community around :)


Thanks for dropping by to check out my project!
Have a wonderful crafty day!
♥Misty♥

Spiderweb Card for "Halloween Card Swap" @ CCL

 Ok so i'm back with the second set of cards for the halloween card swap @ Creating the Crafty Life!!! I just love this card. Mostly cause i love flowers, halloween and those acrylic wheat sprays...like OMG! So i started with black card stock then my favorite pattern from last years Ravenhead Manor Collection by Recollections. I used a "Happy Halloween" stampabillities wooden stamp for the sentiment. I used a martha stewart spider web edge punch to make the diecut under the sentiment and on the edge of the pennant. 


I love the colors and the way this came out!!! The large flower is from last year and is recollections. The mini roses are prima and recollections and the leaves are iamroses. The wheat sprays which i'm so in love with are from my shop (MB's Treasurista)!!!


I went pretty simple on the inside, layering orange and cray paper from the same collection then some black and cream cardstock. I stamped a cute little spider for a finishing touch. 

Please stop by and check out Creating the Crafty Life for more swaps and the most friendly community around :)


Thanks for dropping by to check out my project!
Have a wonderful crafty day!
♥Misty♥

Friday, August 26, 2011

Altered Picture Frame

Hey everyone! I'm here today with an altered frame that i made for Terri! This was for a swap that i hosted and was so happy to have Terri as my partner. There will be another Altered Frame Swap coming up in November over at Creating the Crafty Life. Please come on over and take a peek.

For this frame I used a $1 wood frame from Michaels. What an awesome deal as i even got it on sale 3 for a $1! The paint is white acrylic, and the crackle was made using the Deco Art One Step crackle medium. I used walnut reinker to add the weathered look, by using a few drops on each side and wiping the ink all over then off, leaving it in the cracks and random spots. The gorgeous pearl trim is from my stash and may even be coming to my shop :) All the leaves, roses and flowers are from iamroses. I used Starburst Sprays from Lindy's Stamp Gang to color all the iamroses flowers. The white rose buds were painted with Perfect Pearls by ranger. The sprays coming out of the flower bouquet were made using floral picks from Hobby Lobby. I finished it off with some Say it in pearls by Prima.


Thanks for dropping by to check out my project!
Have a wonderful crafty day!
♥Misty♥

Friday, July 1, 2011

Altered Chocolate Box for Lindsay

Before
After
This was so much fun!!!!
Okay ladies, here is what i did. I painted the entire box with white gesso then the outside with golden brown acrylic paint. i covered the box with designer paper from my favorite paper collection by GCD Studios "Ella Blue". I then sprayed white ruffle trim with Lindy's Starburst Spray in "Dark Chocolate Truffle" and then with a Moon Shadow Mist in "Phantom Fushia". I layerd a dark brown ruffle rose trim all the way around. I made a ruffled rose trim flower and used this gorgeous cameo charm as the center. I used some Brown/Cream Picot Gimp Trim from my shop around the top edge.

I used several of my new i am roses flowers and leaves. I painted this flower with Lindy's Color Shots in "Opal Sea Oats" then brushed over them with Lindy's Starburst in "Frosted Forget Me Not". I accented the flowers with my handmade "Vintage Victorian" stick pin (coming soon to my shop). 

I painted a Michaels $1 frame with Sailing Sky acrylic paint then went over it with Lindy's Color Shots in "Opal Sea Oats". I placed a vintage photo that i got in a swap from Germany last year (Isn't that photo just gorgeous and the little girl is so cute). I put the frame on a hinge so it can fold down for shipping and/or storage.

I painted the darker flowers with Lindy's Color Shots in "Opal Sea Oats" then brushed over them with Lindy's Starburst in "Frosted Forget Me Not". For the lighter flowers i did the opposite and sprayed them with the "Frosted Forget Me Not" and just painted the tip with the "Opal Sea Oats". I added a Tim Holtz Adage ticket "Bliss" which i distressed with my "Frayed Burlap" Distress ink, attached with a Tim Holtz memo pin.

This is actually a pin cushion i made using a piece of chipboard, foam, and some flat lace. Then to dress it up i covered it with the Ruffled Rose Trim to match the flower. I placed a Prima lace flower in the center and accented in with two of my stick pins. I attached the pin cushion to a doily i got in the cake section. The doily was sprayed with Lindy's Moon Shadow in "Buccaneer Bay Blue", Starburst Sprays in "Dark Chocolate Truffle" and "Baby Blue Aqua".

I made a ruffled rose trim flower and used this gorgeous cameo charm as the center.

To finish off i painted four wooden pieces with the Sailing Blue acrylic paint and a Color Shot in "Opal Sea Oats".
I just love the way it came out and almost didn't want to send it....lol!
Thank you Geordie for hosting a very fun mystery swap!

Thanks for looking
♥Misty♥

Recipe for this Box:

  • Lindy's Moon Shadow Mists in "Phantom Fuchsia" and "Buccaneer Bay Blue"
  • Lindy's Starburst Spays in  "Dark Chocolate Truffle", "Baby Blue Aqua" and "Frosted Forget Me Not"
  • Lindy's Color Shot in "Opal Sea Oats"
  • Iamroses Flowers and leaves
  • Tim Holtz  Memo Pin
  • Tim Holtz Adage Tickets "Bliss"
  • MB's Treasurista Shop Trim
  • Michaels $1 frame
  • Handmade "Vintage Victorian" stick pins
  • Prima blue lace Flower
  • Craft Smart "Sailing Blue" and "Golden Brown" acrylic paint
  • White Gesso
  • Doily from the cake section in any craft store
  • Foam, chipboard, cameo charm, 4 wood feet,  hinge and vintage photo from my stash
  • GCD Studio "Ella Blue"  paper


Thursday, June 2, 2011

Vintage Pizza Box

I really had so much fun making this and can't wait to join another swap or just make one cause i love it.....lol! I used a gorgeous 12x12" sheet of K&Co paper to make the box. I used Tim Holtz metal corners on the bottom. Then made it so it could hand with a luscious coca brown velvet scroll trim from my shop. On the sides i covered the ends with vintage silver buttons that i colored with a chocolate brown copic marker.

I used iamroses gardenias and painted them with several lindy's moon shadow mist in "Phantom Fuchsia", "Golden Doubloons", "Landlubber Green" and "Buccaneer Bay Blue". I also used recollection leaves. Colored a white "say it in pearls" by Prima with a dark chocolate brown copic marker.

Gotta love Tim Holtz book plates!!! I also use an adage tag "Dream".


One of my favorite things from Tim Holtz are the gorgeous knobs. I have finally brought myself to dip into the hoard vault and use one....sheesh that was hard...lol!
Thanks for looking
♥Misty♥

Recipe for this Box:

  • Lindy's Moon Shadow Mists in "Phantom Fuchsia", "Golden Doubloons", "Landlubber Green" and "Buccaneer Bay Blue"
  • Iamroses Flowers
  • Tim Holtz  Metal corners and Ornate book plates
  • Tim Holtz Adage Tickets "Dream"
  • MB's Treasurista Shop Trim
  • Recollections leaves
  • Vintage Buttons from my stash
  • White Say it in pearls" by Prima
  • Brown Copic Marker
  • K&Co paper

Friday, April 22, 2011

Altered Birdcage

Before
I'm so excited about this one! Can't wait to share this with you....so here it goes....
This is a $1 Michaels Birdcage.

After
I started by getting rid of the bright orange and painted it with white Gesso. I then colored the cage with an alcohol ink in "Meadow". To get a lighter look i took the alcohol blending solution with a sponge and went over the cage lightening the color as well as giving it a weathered look. Then took a ranger paint dabber in white and further distressed the bird cage. I wrapped two white recollections sprays around the bird cage. Then covered the bottom with this gorgeous rose and pearl trim in chocolate.
I painted I am roses flowers with Lindy's Starburst Sprays in the colors "Mountain Lavender Gold", "Wild Honeysuckle" and "Frosted Forget Me Nots".  I went over the white flowers with "Creme Brulee Cream" starburst spray. I added all the colored flowers and extra leaves all over the cage". 
 

 I added a Tim Holtz ticket for a finishing touch. The grass is made of fibers that i sprayed with "Edelweiss Moss Green" Starburst Spray.  
 

The bird is just from my stash but is so cute!

Thanks for looking
♥Misty♥
Recipe for this Birdcage:
  • Michaels $1 Birdcage
  • Lindy's Starburst Spray in Mountain Lavender Gold", "Wild Honeysuckle" and "Frosted Forget Me Nots"
  • Iamroses Flowers
  • Tim Holts Alcohol Ink in the color "Meadow"
  • Tim Holtz Distress ink in "Frayed Burlap"
  • Tim Holts Adage Tickets "Live" 
  • MB's Treasurista Shop Fibers
  • Ranger Alcohol Blending Solution
  • Recollections White Spray
  • Birds Nest and Pink Bird from my stash 
  • Recollections Leaves
  • Rose Pearl trim from my stash
  • Ranger Paint Dabber "Snow Cap"
  • Golden Gesso 'White"

Tuesday, April 12, 2011

2010 Vintage Christmas Tag

Front Side
Here is the tutorial on the background!

I just love I am roses!!! Please check them out here

Back Side

Please watch the video for a more indepth description!


Thanks for looking!
♥Misty♥